Using Jekyll Liquid templating to build a website gallery
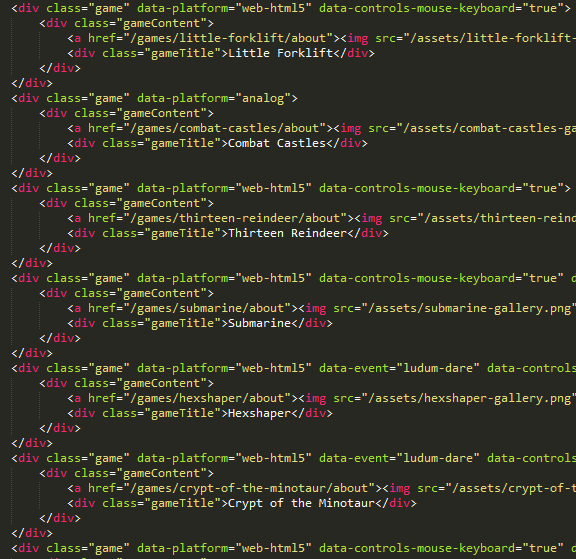
I keep all of the games I work on in a gallery page on this site. Earlier this year, I finished building a game with some friends, and had to update that page. The process involved a bit of HTML:
| |
This markup isn’t too elaborate, but it is repetitive to write:

Building a Template
Luckily, Jekyll has tools for this sort of thing. I’ll put this HTML snippet in its own file (gallery_item.html) and use the magic of includes to reference it. Now each entry in the gallery is one line instead of six:
{% include gallery_item.html %}
In order to actually represent different items, and not just repeat the exact same HTML over and over, I’ll need to pass in some variables to the include:
{% include gallery_item.html game-name="I Just Wanted Groceries" game-string="i-just-wanted-groceries" data-platform="web-html5" data-event="ludum-dare" %}
I can reference those variables from within the gallery_item file:
| |
It seems silly to have the game-string variable, since it’s just a modification of the game-name variable. Luckily, Jekyll has a built-in “slugify” filter that I can use. Slugify will turn “I Just Wanted Groceries” into “i-just-wanted-groceries”, which is perfect to replace the extra variable.
The HTML5 data attributes aren’t necessarily present, so we’ll put each of them in a conditional statement in the include file.
The Finished Template
Here’s the final result for the include template, with the slugify filter added in:
| |
Now when I add a new game to the page, I only need to add a single line of code with a few parameters. The rest is generated automatically!
(Note: this site no longer uses Jekyll, but this post will remain published for reference purposes).